How to Install a Home Alarm System: A Two-Hour, No-Drill Walkthrough
Affiliate Disclosure: This article contains affiliate links. If you buy through these links, we may earn a commission at no extra cost to you. Our editorial opinions are our own and are not influenced by affiliate relationships. Read our full disclosure policy →
Contents
Quick Answer
A modern wireless alarm system is a two-hour job needing no tools beyond a screwdriver, and most of that time goes on deciding where things live rather than fixing them there. The order that matters: hub first, then sensors on the doors people actually use, then the keypad by the door you leave from — and test everything before it touches adhesive.
Before you start
Two decisions do more for the result than any part of the physical install: where the hub goes, and which doors get sensors. Get those right and the rest is peel-and-stick. Get them wrong and you will be redoing it within two weeks.
The two decisions that actually matter
Where the hub goes
- Central and in open space, so every sensor stays in range
- At least 3 feet off the ground, never in a cabinet or closet
- Away from granite, concrete or metal, and not stacked on the router
- Near power, out of sight of a window, and inside real Wi-Fi reach
Which doors get sensors
- Every exterior door, without exception
- Ground-floor windows that actually open
- The door between house and garage
- Not interior doors — they mostly cause false alarms
Where each sensor actually goes
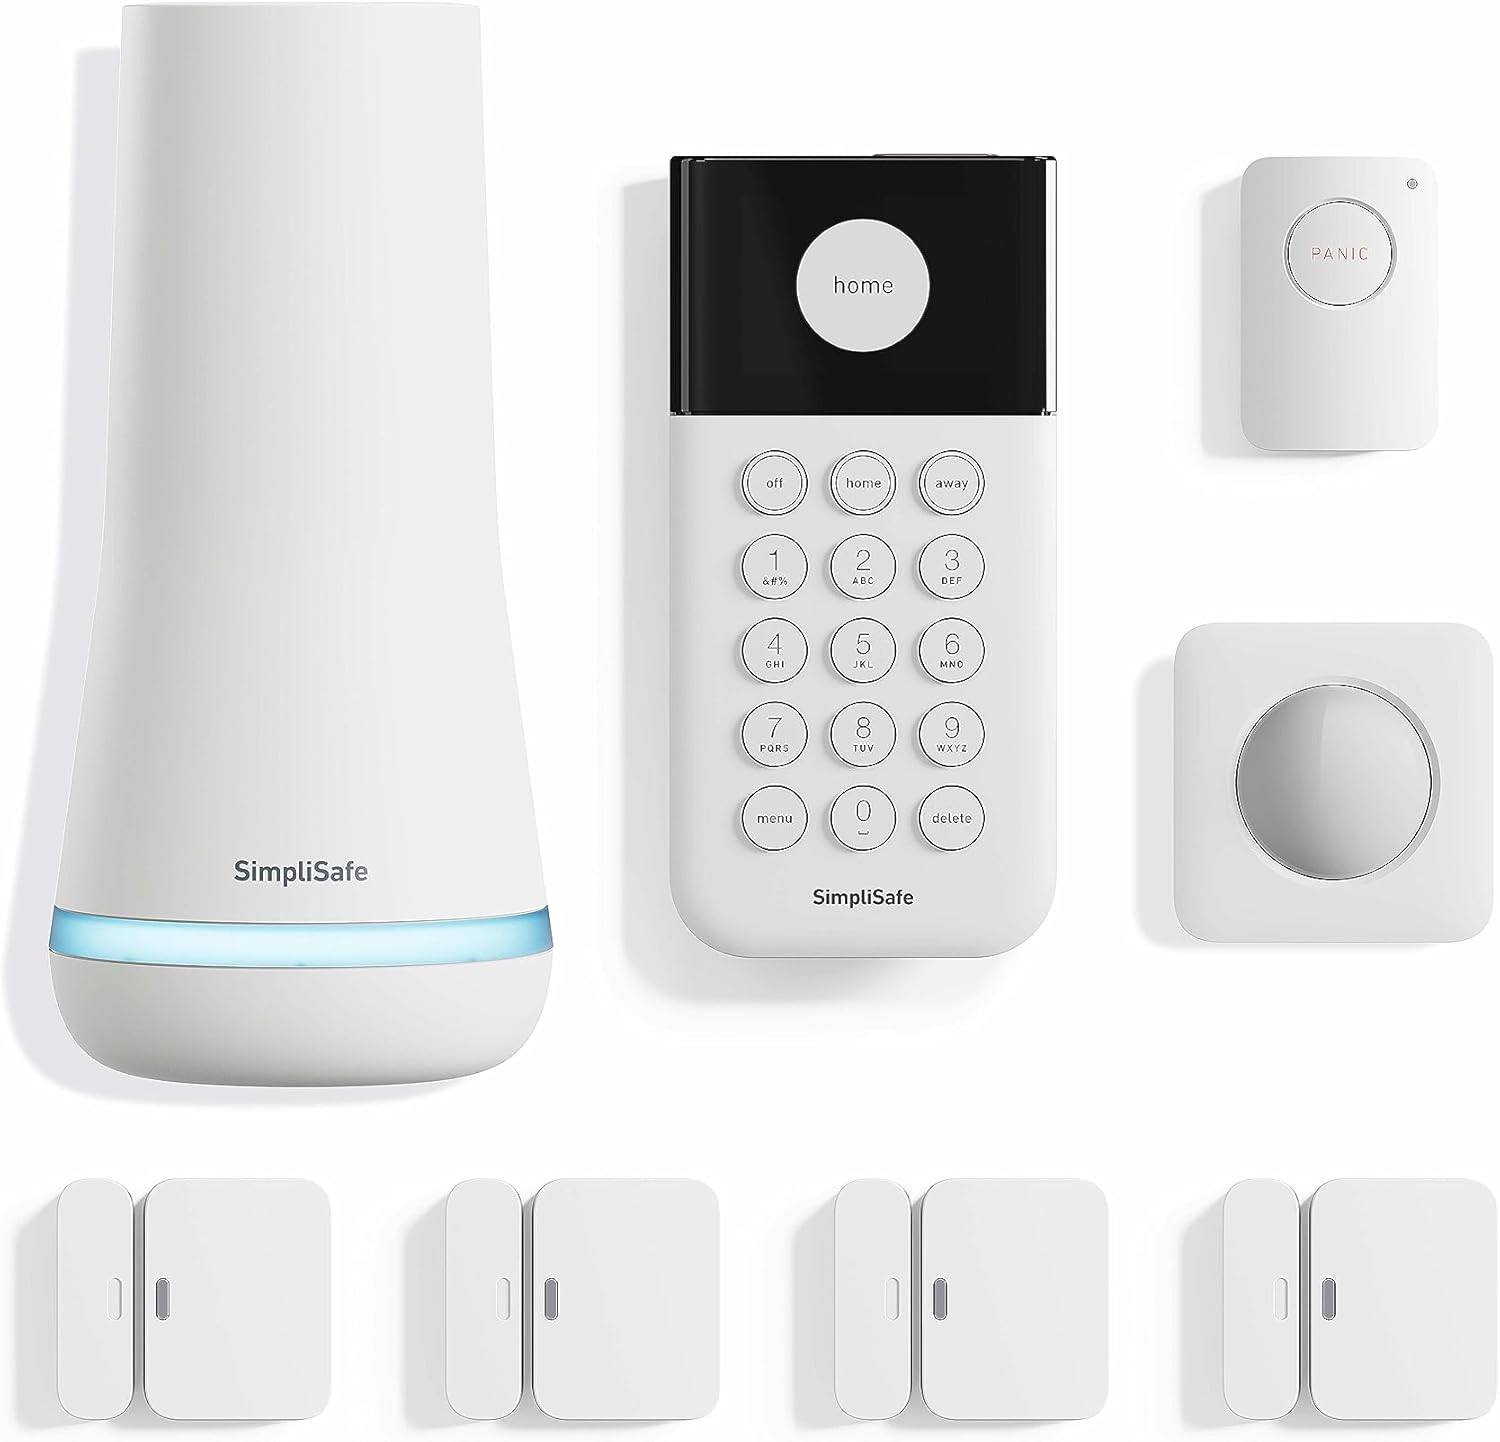 Lay the whole kit out and pair every piece before anything goes on a wall.
Placement is where most self-installs go wrong, and it has almost nothing to do with how carefully you stick things down. A sensor in the wrong place either misses what it should catch or fires at things that do not matter, and the second failure is worse — a system that cries wolf is a system you stop arming.
- Door contacts: on the opening edge, not the hinge side. Ring’s installation guidance says plainly not to mount a contact sensor on the hinged side of a door — that edge barely travels, so the two halves may never separate far enough to register an opening.
- Window contacts: sensor on the fixed frame, magnet on whichever sash actually moves, so the pair genuinely pulls apart when the window opens. SimpliSafe sets the closed-position tolerance at no more than 1.5 inches between the two pieces.
- Motion sensors: Ring specifies 7.5 feet off the ground, in the corner of a room, facing the middle of it. A corner sees more floor than a flat wall, and PIR sensors read movement crossing their field far better than movement walking straight at them.
- Never point a motion sensor at: a window, a heat source or an air vent — Ring names all three — or anywhere the floor level changes abruptly, which is what rules out aiming one down a staircase. Rotating fans and a curtain hanging over a vent belong on the same list.
- The keypad: inside the door you actually leave from, at a height you can reach without looking. If disarming is awkward, you will stop arming it.
- The siren: somewhere central and hard to reach. A siren behind a locked door is much harder to silence than one sitting on a hallway shelf.
One habit worth adopting: before you peel a single adhesive backing, put every sensor where you think it should live using a loop of masking tape, then arm the system and walk the house normally for a day. It costs an afternoon and it is far cheaper than discovering the placement problem after everything is permanently mounted.
The install, step by step
| Step | What you do | Why it matters |
|---|
| 1 | Power the hub and get it on Wi-Fi | Nothing pairs until the hub is online |
| 2 | Pair every sensor before mounting anything | A sensor that will not pair is a five-minute problem on the table and an hour-long one on a door frame |
| 3 | Test each sensor by opening the door it will guard | Confirms range from the hub at the real distance, not across the room |
| 4 | Mount the door and window sensors | The two halves must sit close enough to read as closed — Ring allows 2.5 cm, SimpliSafe 1.5 inches |
| 5 | Mount the keypad by your main exit door | You will use it twice a day; convenience decides whether you keep arming it |
| 6 | Set entry and exit delays | Ring allows anything from 0 to 180 seconds — too short and you trip your own alarm, too long and an intruder gets a window |
| 7 | Run a full test in test mode | Catches the sensor you mounted upside down before the siren does |
Common mistakes
- Mounting before pairing. The single most common reason a two-hour job becomes a half-day one.
- Misaligned magnets. The tolerance is about an inch rather than a hair’s breadth — Ring specifies 2.5 cm or less, SimpliSafe 1.5 inches — but a crooked mount that drifts past it produces phantom open/close events at 3am.
- Motion sensors pointed at a heat source. Ring tells you not to face one at a window, a heat source or an air vent, and the reason is false alarms rather than fussiness.
- Skipping the entry delay. You will set it off yourself in week one.
- Not testing Wi-Fi at the hub position. Same principle as testing before you mount a camera.
All five share a root cause: the system gets treated as furniture rather than equipment. If yours is already installed and firing at nothing, our guide to why an alarm keeps going off works through the causes in order of how often they actually turn out to be the problem.
Kits that are genuinely easy to install
All three below are peel-and-stick with no drilling, which is what makes a two-hour install realistic. For the wider field, our DIY alarm systems guide compares them properly.
| Kit | Pieces | Install note |
|---|
| SimpliSafe 8-Piece Wireless System | 8 | Fastest to pair; hub and keypad are separate units |
| Ring Alarm 14-Piece Kit | 14 | More sensors means more mounting, but pairing is automatic |
| 15-Piece WiFi Home Security System | 15 | Most sensors for the money; setup is app-led |
What to do after it is installed
The install is the easy half. What decides whether the system is still working in a year is a short list of habits, none of which take longer than a few minutes.
- Test monthly. Both brands ship a dedicated test mode — SimpliSafe’s checks the link between the base station and the monitoring center without changing your monitoring status — so tripping one sensor costs two minutes and is the only way to find a dead one before an intruder does.
- Replace batteries on a schedule, not on a warning. A low-battery warning tells you a sensor is already on its way out, and a cold snap brings that forward. Same principle as smart lock batteries.
- Keep the contact list current. If you have monitoring, the people it calls should be people who still answer that number.
- Re-test after any change. New pet, new furniture in front of a motion sensor, a door rehung — all of them change what the system sees.
- Learn your entry delay by feel. The most common false alarm is the owner’s own, in the first two weeks.
The monitoring decision you can defer
Every kit here runs unmonitored, and the siren sounds either way. What is easy to get wrong — and worth knowing before you buy rather than after — is that the phone alert is not always part of the free tier. Ring states it plainly: with no subscription the siren still sounds, but you and any shared users do not receive digital notifications. SimpliSafe’s unsubscribed tier covers live camera view and remote arm and disarm, with push notifications for alarms arriving on its paid plans.
So the honest version is this. Without paying anything you get a loud local alarm and a working keypad, which is genuinely useful on its own, and you may or may not be told about it while you are out. Professional monitoring adds someone who verifies the signal and requests dispatch. Read the specific plan rather than assuming the app is included.
What you do not have to do is decide on day one. Ring lets you switch between self-monitoring and professional monitoring from the app’s own settings, and switching does not mean new hardware. Live with it for a month, see how often it actually fires, then decide.
One caveat worth understanding first: a monitored alarm does not guarantee a police response. Many US cities now require verified evidence before dispatch, which we covered in verified response. It changes what you are actually buying.
What to Actually Do
Block out two hours and install in this order: hub, sensors, keypad, then test. Nearly every install that goes badly goes badly because it was done in a different order — sensors stuck down before anyone checked the hub actually reached that corner of the house.
Do not commit anything to adhesive until the whole system has been tested in place. Hold each sensor where you want it, trip it, confirm the hub sees it, and only then peel the backing. Repositioning a sensor you have already stuck to a door frame is the most annoying part of this job, and it is entirely avoidable.
Defer the monitoring decision for thirty days. Every kit here sounds its siren without a subscription, and you can switch to professional monitoring later from the app without buying new hardware. Live with the system first, then decide whether you want someone else in the loop — and read what your specific plan includes, because the phone alert is not always part of the free tier.
The one thing worth doing on day one is learning your entry delay by feel. The most common false alarm in the first two weeks is the owner’s own.
Frequently Asked Questions
Do I need an electrician?
No. Every kit here runs on batteries and adhesive. The only mains connection is the hub, which plugs into a normal socket.
How long does it actually take?
Around two hours for a typical three-bedroom house, and most of that is deciding placement rather than fixing anything in place.
Will the adhesive damage paintwork?
Usually not, though on fresh paint or textured surfaces it can lift slightly on removal. Renters should check the lease first — our renter guide covers it.
What happens if the Wi-Fi drops?
Sensors talk to the hub over their own radio rather than Wi-Fi, so the siren still works. What you lose is app alerts until the connection returns.
How often should I test the system?
Monthly, in test mode, tripping at least one sensor. It is the only reliable way to catch a dead sensor.
Can I add sensors later?
Yes on all three kits. That is the main advantage of a wireless system — you can start with the doors that matter and expand.
Do I have to buy monitoring?
No. The siren works with no plan at all, and monitoring can be added later without changing hardware. Do check whether phone alerts are included on the free tier — on Ring they are not.
What if I move house?
Wireless kits come with you. Peel the sensors off, take the hub, re-mount at the new address. That is a real advantage over a professionally installed system.
Sources
Show sources (9)
SafeBode does not yet run an in-house product testing program. This guide is built from manufacturer specifications, current retail listings and verified buyer feedback rather than hands-on testing, and we say so plainly rather than implying testing we have not done.


